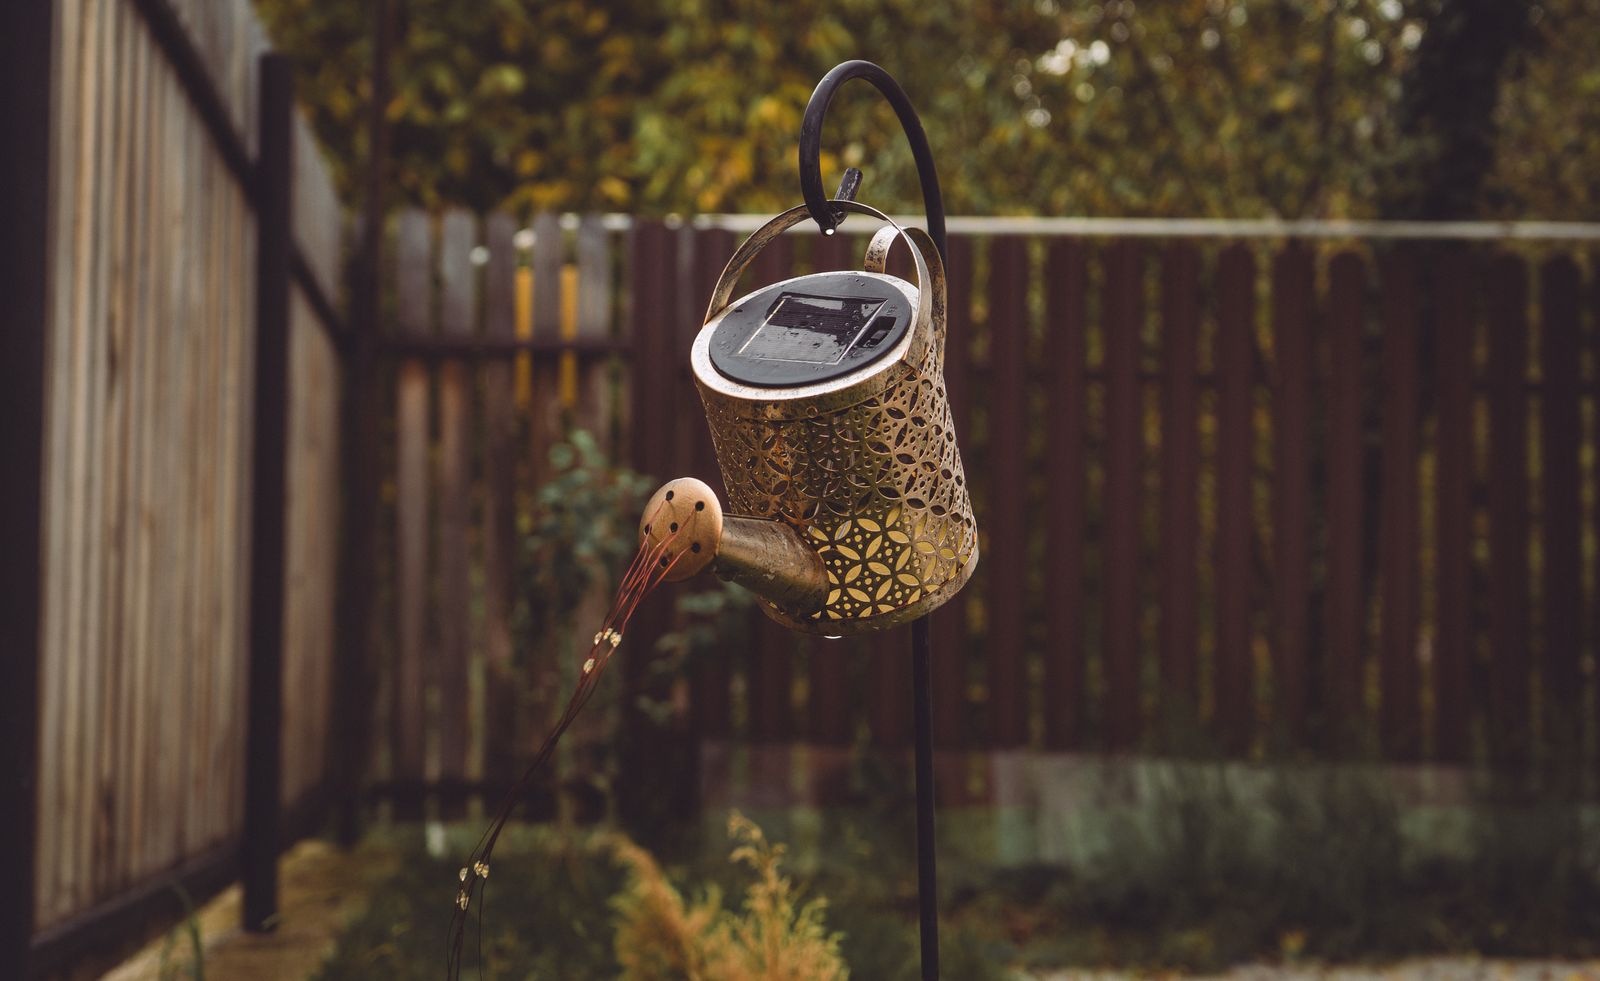
Solar Spotlight Layout FAQs: Optimal Placement, Shadowing, and Coverage Rules
Optimal solar spotlight layout is a coverage plan first and a charging plan always: one Linkind SL5C Smart Solar Spotlight per subject, 5-7 feet away, staggered on walks, with every panel in open sky. 350 lumens fills that working distance when the beam actually hits the object. Shadowing of trunks and texture is useful. Shadowing of the solar face is not. Draw the beams, then veto any stake that cannot charge for an 8-12 hour night.
Coverage is a working distance, not a circle on a brochure
Install lights 5-7 feet from objects for best results. That is the coverage rule for this fixture class. Inside that band, a step, a shrub, or a low wall reads. Outside it, people invent a layout problem that is really a distance problem.
Do not assign one lamp a whole facade. Split the wall into zones and give each zone a beam. Overlap only where a turn or a stair must not go dark.
The guide to positioning and installing smart solar outdoor spotlights is the how-to. This FAQ is the rule set that how-to follows.
Two kinds of shadow
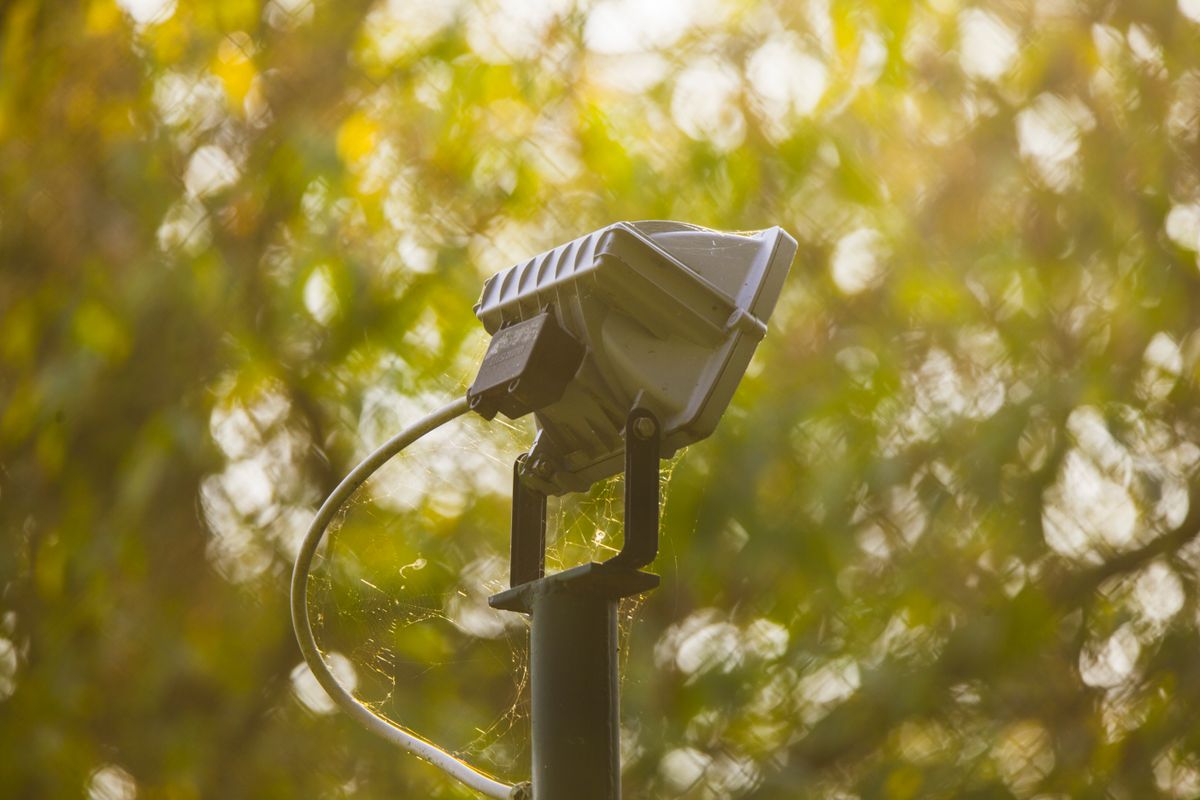
Photo by Francesco Paggiaro on Pexels
Object shadow is design. A trunk with a dark side and a lit side has depth. Grazing a wall from 5-7 feet makes brick texture. That shadowing is the point of a spotlight instead of a flood.
Panel shadow is failure. Avoid shadowed solar panels. A layout that tucks every stake into the planting for invisibility is a map of dead batteries. Put the hardware in sun and hide it with aim and planting in front of the stake, not on top of the face.
Strong light sources on the panel are a third shadow-like problem. Treat a porch flood as a layout obstacle.
Path coverage wants stagger, not symmetry
Use a staggered path lighting approach for uniform illumination. Alternate sides so scallops meet in the center. Matching pairs look orderly on a drawing and leave dark troughs on the pavers.
Count landings as extra coverage points. A long straight run can be even; a stair cannot. Put overlap on the hazard, not on the open lawn.
RGBTW scenes do not change coverage. Color still occupies the same 350-lumen beam. Lay the yard out in white in Aidot 2.5.0, then add color on top.
Trees, beds, and hardscape coverage
A tree is covered when the trunk or lower canopy is lit from 5-7 feet and the panel still sees sky. Two opposite fixtures are a coverage choice only if both can charge. A bed is covered as a mass, not as a grid of one lamp per perennial. Hardscape is covered by a graze along the face, not by a lamp on the cap that blinds the walker.
DIY at $0 estimated installation cost means coverage is adjusted in the yard, not in a photometric report. If a scallop is short, move a foot. If a wall is bland, slide the graze.
Listed lifespan of 3-5 years is long enough to lock a layout in week one and stop rearranging every Saturday.
Layout rules that keep coverage honest
| Rule | Do | Do not | | --- | --- | --- | | Working distance | 5-7 feet from the object | A lamp across the yard hoping 350 lumens arrives | | Path | Stagger left-right, overlap at steps | Paired runway or one flood at the house | | Shadow | Use object shadow for depth | Cast panel shadow on the solar face | | Subjects | One beam per job | Two beams on one shrub, none on the stair | | Charge | Latitude tilt, open sky | Pretty stake in a dark hedge |
When coverage still looks thin
First check aim and distance. Second check charge: an underfilled cell looks like a coverage gap at 11 p.m. Third check competing light that washes the scene. Only then add another SL5C.
IP67 is irrelevant to a gap in the middle of a walk. Weather sealing does not place a beam.
Solar powered with no extra electric cost means extra coverage is extra stakes, not extra transformer load. Add them only for real jobs.
Layout, shadow, and coverage checklist
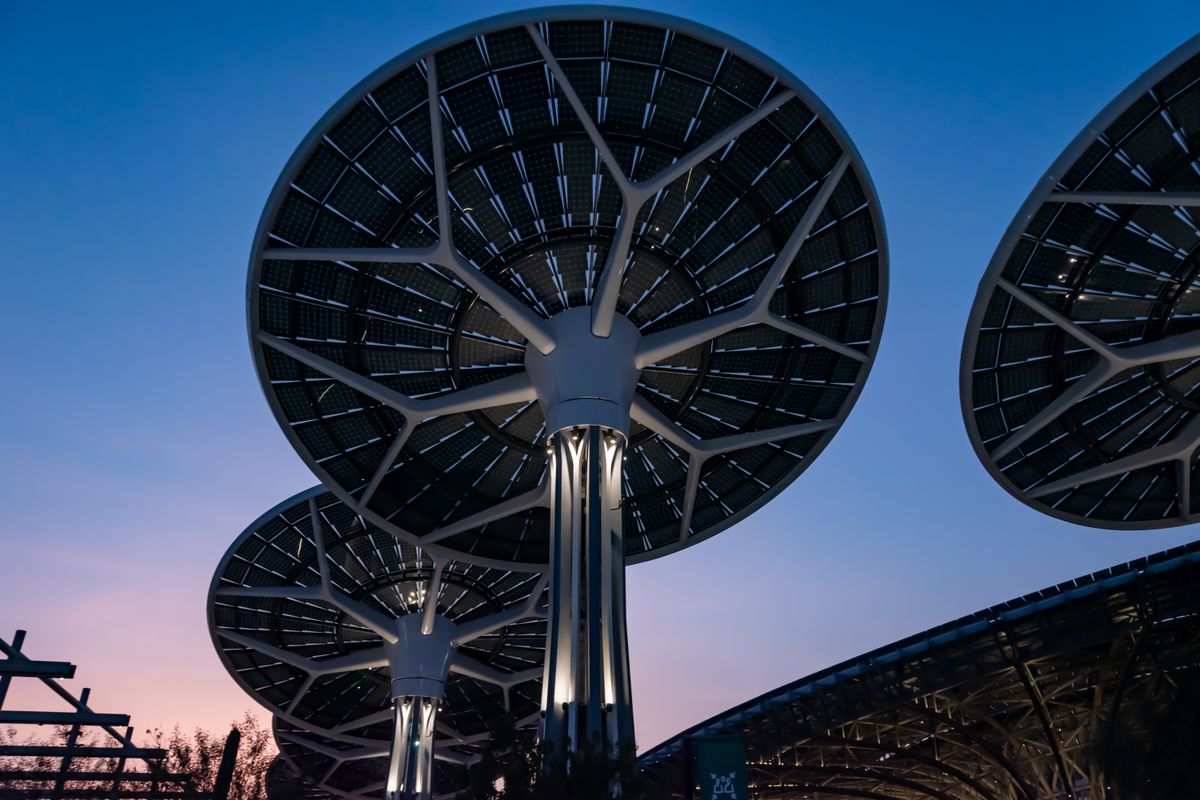
Photo by San Photography on Pexels
- [ ] Mark each subject; assign one 350-lumen beam at 5-7 feet.
- [ ] Stagger paths; overlap only at hazards.
- [ ] Keep object shadows; eliminate panel shadows.
- [ ] Tilt every face to the latitude band in open sky.
- [ ] Lay out in white before saving RGBTW scenes.
- [ ] Add fixtures only after aim and charge are already correct.
Frequently asked questions
How far should a solar spotlight sit from what it lights?
5-7 feet from the object for best results on this fixture class.
Why does my path still have dark stripes?
Usually paired lamps or a stagger that is too wide. Alternate sides until scallops meet, and put extra overlap on steps.
Is a shadow on the tree a layout error?
Not if the panel is in sun. Object shadow is depth. Panel shadow is the error.
Can one spotlight cover a walk and a tree?
Rarely. 350 lumens is one job at 5-7 feet. Split the jobs.
Does a denser layout need more electrical work?
No. Each SL5C is DIY solar with $0 estimated installation cost.
Related reading
Landscape design, tree technique, and hardscape DIY pages sit next to these layout rules.
- optimizing landscape design with a smart solar spotlight
- applying smart solar spotlight tech to mature trees
- DIY smart hardscape lighting with solar
What to do next
Sketch each subject and draw a 5-7 foot beam to it. Stagger the path, keep panels in open sky, and allow object shadow for depth. Install that many Linkind SL5C spotlights, judge coverage in white after a full charge, then save Aidot scenes. Add a fixture only where a real gap remains.
Cover photo by Gurgenidze G on Pexels.