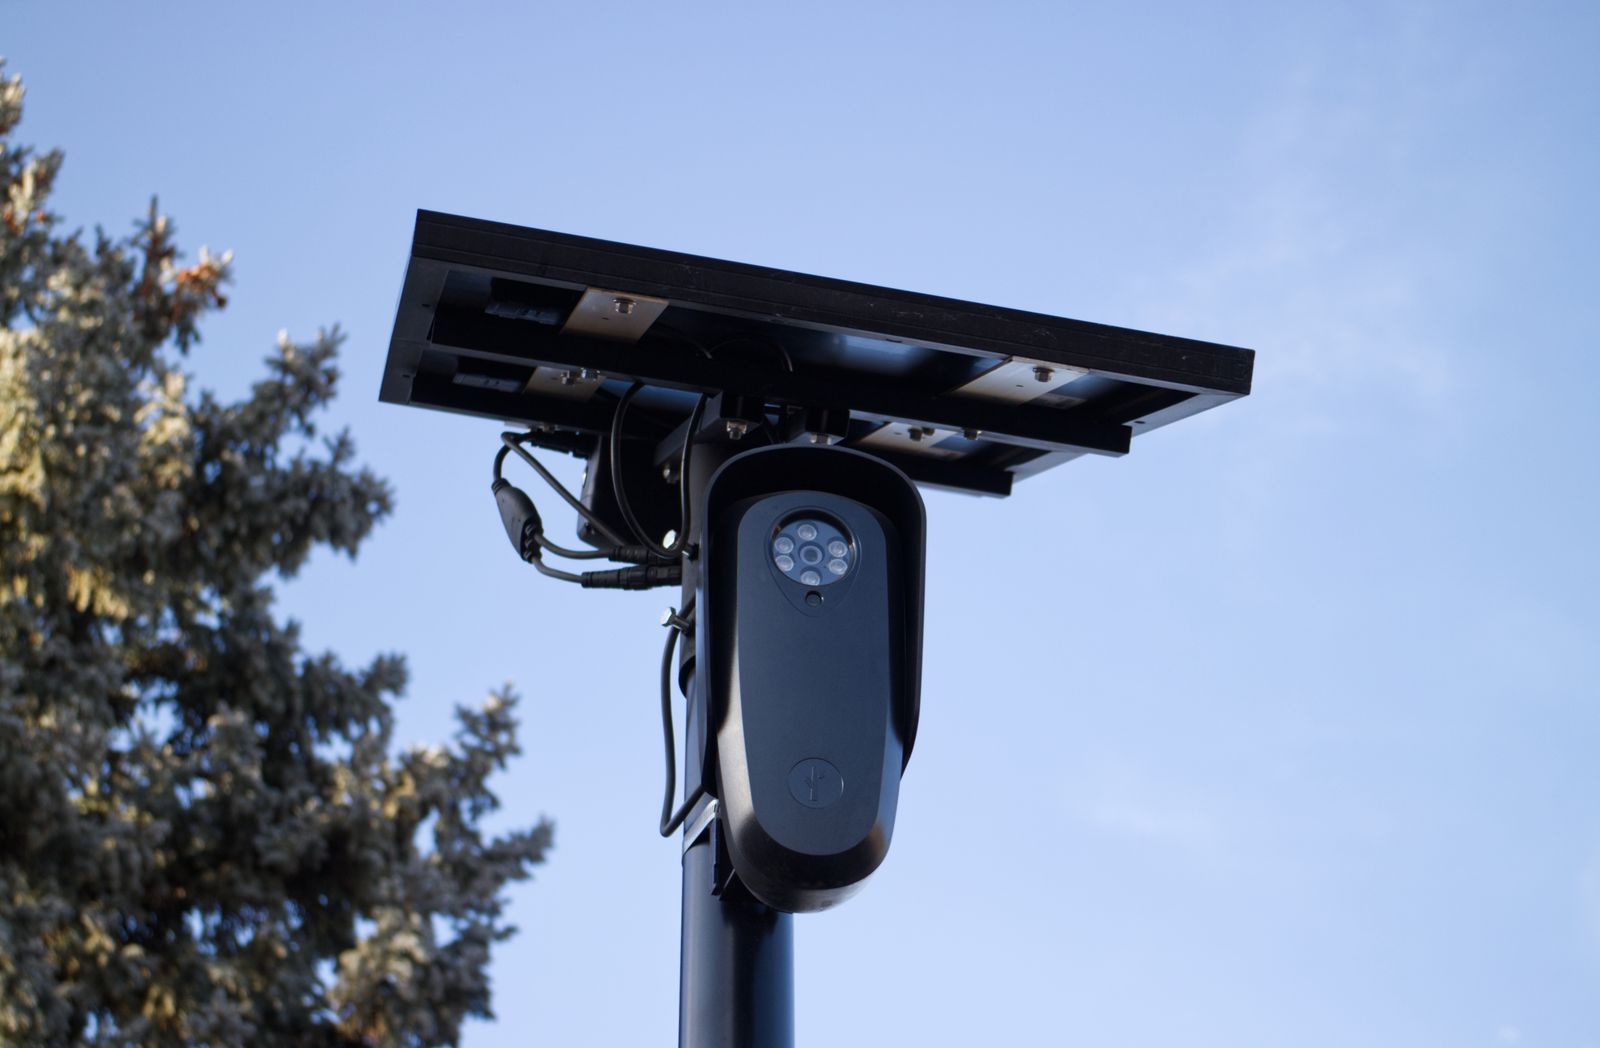
Ground-Mounted vs. Wall-Mounted Solar Spotlights: Best Placement for Sunlight Exposure
Should you spike smart solar spotlights into your lawn or screw them onto exterior walls? Wall-mounted panels fail when roof eave overhangs cast midday micro-shadows, while ground stakes underperform when growing garden foliage blocks low-angle winter sunlight. For unshaded yards, ground stakes yield maximum latitude-tilt precision; for dense garden beds, elevated wall mounts facing unobstructed South are ideal.
Placement Scenarios: Ground vs. Wall Solar Exposure & Performance
| Placement Scenario | Primary Solar Failure Mode | Solar Irradiance Retention | Tilt Adjustability Range | IP67 Moisture & Drainage Risk | Aidot v2.5.0 App Range | Recommended Mounting |
| --- | --- | --- | --- | --- | --- | --- |
| Open Lawn / Pathway Border | Vegetation overgrowth & lawnmower impact | 90% - 100% | Full 360° rotation & Latitude ±5° tilt | Low (IP67 sealed against ground pooling) | Unobstructed ground-level Bluetooth line-of-sight | Ground Stake |
| Wall Under 12-Inch Roof Eave | Eave micro-shadowing at solar noon | 40% - 60% | Restricted vertical clearance against siding | None (Elevated structure runoff) | Excellent elevated line-of-sight signal | Wall Bracket (Lowered 24"+ below eave) |
| Perimeter Wooden Fence Line | Neighboring tree & building overhangs | 70% - 85% | 180° horizontal / 90° vertical adjustment | None (Elevated vertical surface) | Moderate attenuation through timber construction | Wall/Post Bracket (Facing South) |
| Dense Shrubbery & Flowerbeds | Foliage canopy blocking lower sun angles | 30% - 50% | Severely restricted by plant branches | High organic leaf debris accumulation | Signal attenuated by dense, wet foliage | Elevated Wall/Riser Mount |
Compare solar irradiance retention, tilt adjustability, moisture exposure, and app connectivity across common residential mounting locations.
Detailed Trade-Offs: Ground Spikes vs. Wall Bracket Mounting
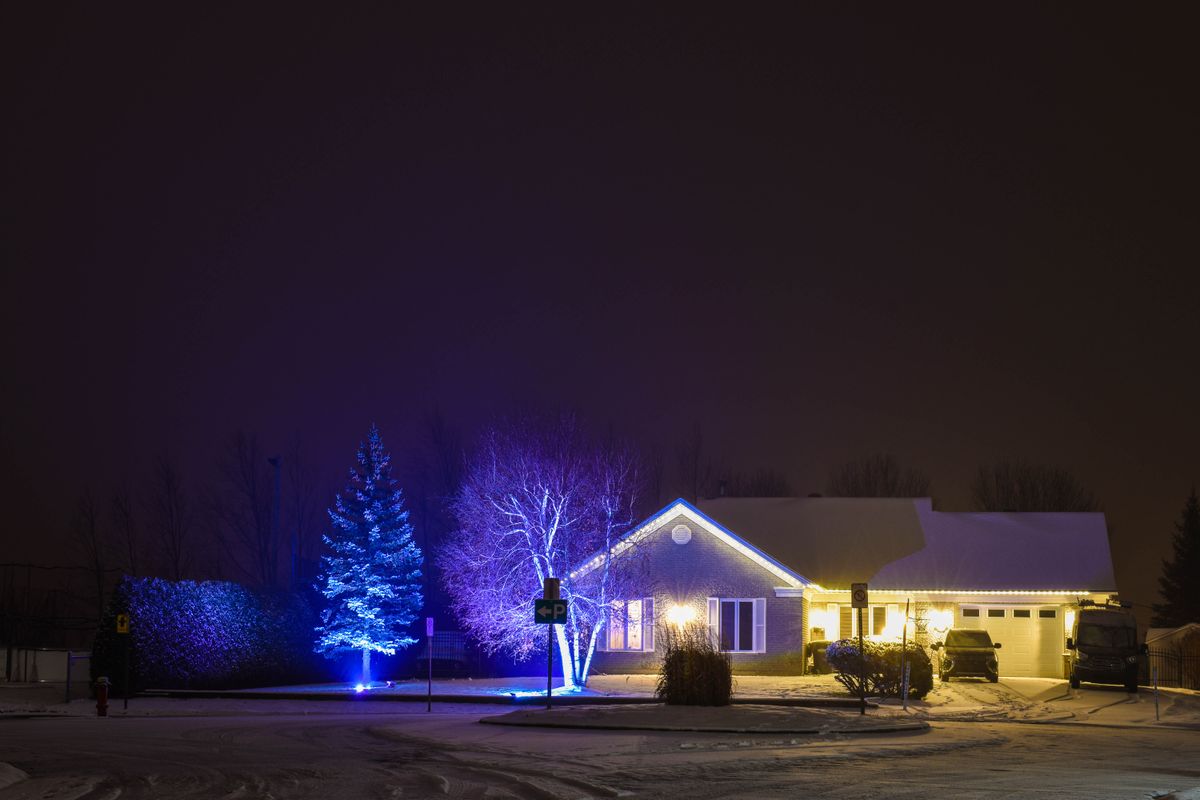
Photo by Marius-Laurentiu Butan on Pexels
Pros
- Ground Mounts: Full solar panel articulation allows exact Latitude ±5° tilt alignment toward true South.
- Ground Mounts: Staggered 5-7 foot placement along walkways delivers balanced, low-glare outdoor illumination.
- Wall Mounts: Positions photovoltaic cells above growing grass, shrubs, and seasonal garden beds.
- Wall Mounts: Elevated placement provides broad downlighting for security across driveways and patios.
- Ground Mounts: Susceptible to shadows from tall grass, mulching, or snow accumulation over solar cells.
- Ground Mounts: Higher vulnerability to accidental damage from string trimmers and foot traffic.
- Wall Mounts: Roof eaves cast steep midday shadows, drastically reducing peak battery charging efficiency.
- Wall Mounts: Rigid vertical surface mounting limits solar panel tilt angles during winter months.
Pro Tip: Latitude Alignment & Micro-Shade Avoidance
To maximize energy capture in the Northern Hemisphere, align solar panels toward true South and set the panel tilt angle to your local latitude ±5°. Avoid partial shading at all costs: even a 2-inch shadow cast by a roof eave or fence cap across a single corner of the solar panel can disrupt internal cell circuits and reduce charging currents by over 50%. Keep smart fixtures at least 5 to 7 feet from illuminated objects to ensure full beam development and prevent harsh hot spots.
Key Placement Rules for Optimal Solar Spotlighting
- Roof eave overhangs are the primary cause of battery depletion in wall-mounted solar spotlights.
- Ground-mounted spikes provide optimal seasonal solar tracking via unimpeded panel articulation.
- Ground fixtures must be clear of lawn turf growth and elevated 6 inches above mulch beds.
- Position fixtures 5 to 7 feet from walls or trees to achieve smooth visual color gradients.
- Stagger pathway spotlights on alternating sides every 5 to 7 feet to prevent dark gaps and harsh glare.
- Always verify Bluetooth line-of-sight connectivity with the Aidot app (v2.5.0) before final installation.
Printable Placement & Tilt Angle Cheat Sheet
- Solar Panel Orientation: True South (0° Azimuth in the Northern Hemisphere).
- Base Solar Tilt Angle Formula: Local Latitude Angle ± 5°.
- Winter Solar Tilt Adjustment: Local Latitude + 15° (steeper angle for low southern sun).
- Summer Solar Tilt Adjustment: Local Latitude - 15° (flatter angle for overhead sun).
- Target Distance Rule: Place light fixture 5 to 7 feet away from focal subject.
- Pathway Lighting Layout: Stagger fixtures 5 to 7 feet apart along opposite edges.
- Roof Eave Distance Limit: Mount wall fixtures at a depth at least 2x the eave projection below the roofline.
- Ground Clearance Limit: Keep solar panel glass at least 6 inches above soil/mulch line.
Visualizing Solar Vectors: Eave Overhang vs. Ground Vegetation Shade
This cross-section diagram demonstrates why direct solar access changes significantly depending on mounting height and structural obstructions.
Interactive Tool: Solar Exposure & Placement Estimator
Use this estimator framework to model daily direct sunlight hours based on structural overhangs and plant heights.
Selection Matrix: Which Mounting Method Fits Your Yard?
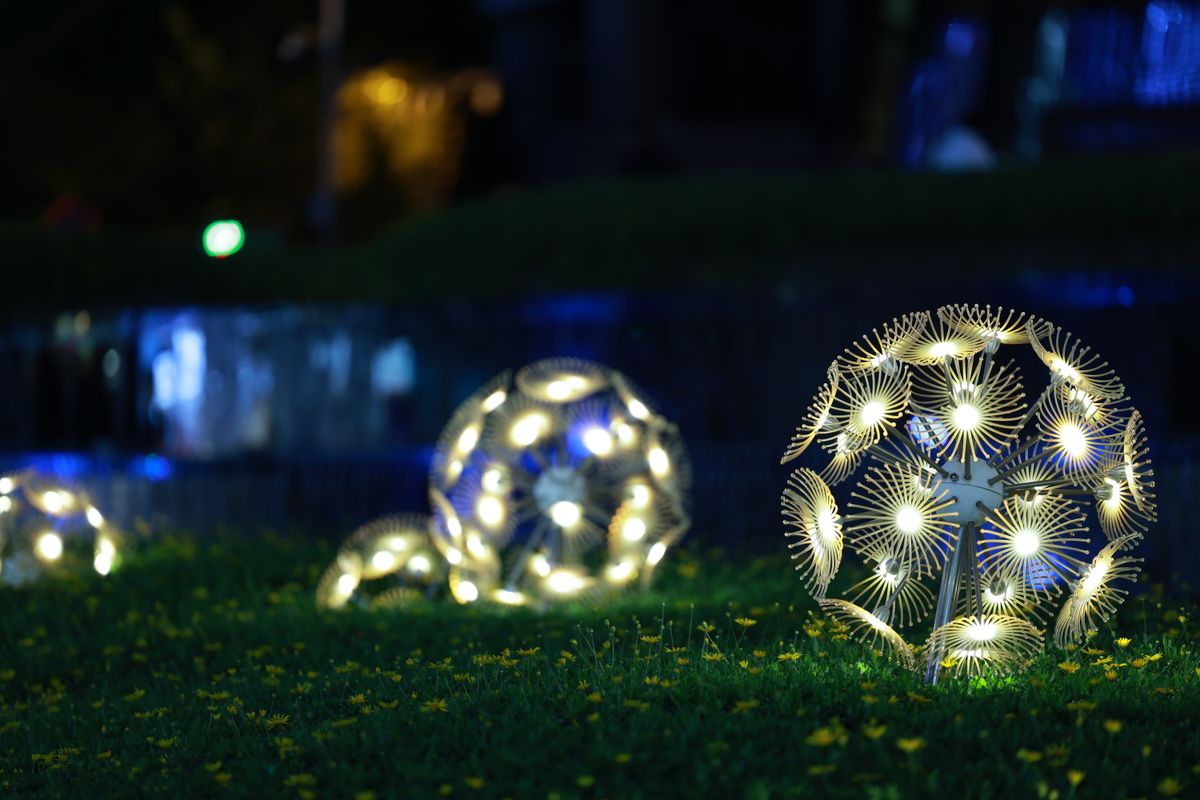
Ground mounting delivers better solar tilt adjustments for open landscapes, while wall mounting elevates solar panels above growing garden foliage.
Best choice for
- Ground Spike Mount — Allows precise Southern tilt angles (Latitude ±5°) and easy 5-7 foot staggered spacing for uniform coverage.
- Wall or Fence Mount — Lifts the solar panel above plant canopies that block solar rays and attenuate Bluetooth app signals.
- Wall Mount (24" Below Eave) — Provides elevated perimeter illumination while catching full unshaded mid-day sunlight.
- Do not use wall mounts directly under eaves wider than 6 inches without lowering the mounting position.
- Do not ground-mount fixtures in low drainage zones where standing water exceeds 4 inches, despite IP67 ratings.
- Do not mount ground spikes in dense shaded turf that receives less than 4 hours of unshaded sunlight daily.
- Dual-Mount Convertible System — Fixtures like the Linkind SL5C include both ground spikes and wall brackets, enabling easy repositioning as landscape foliage matures across seasons.
Best Dual-Mount Smart Solar Spotlight Solution
For flexible outdoor installation, choose a fixture that includes hardware for both ground and wall mounting.
Common Installation Failure Modes and Corrective Actions
Wall spotlight turns off after 2 hours of night operation during late autumn. — Check for roof eave shadows between 10:00 AM and 2:00 PM. Lower the wall bracket down the siding by 12 to 24 inches to clear the eave shadow, or tilt the solar panel 15° steeper relative to your latitude.
Ground-mounted pathway lights lose Aidot app v2.5.0 connectivity in mid-summer. — Dense, wet plant foliage attenuates 2.4GHz Bluetooth signals. Trim back foliage around the fixture base or relocate lights 6 inches forward from the hedge line.
Ground stake panel becomes dirty and fails to store enough power for bright scenes. — Ground splash from soil and mulch degrades solar intake. Wipe the solar glass with a damp microfiber cloth and ensure the spike elevates the panel rim 6 inches above garden bed mulch.
Learn how to identify and resolve common environmental solar charging issues.
Understanding how solar energy is converted and how wireless control signals travel helps ensure long-term outdoor lighting reliability.
The Mechanics of Micro-Shadowing
Solar panels on outdoor spotlights rely on series-connected photovoltaic (PV) cells. When a roof eave, fence cap, or stray branch casts a partial shadow across even one cell, internal electrical resistance spikes. This micro-shadowing effect acts as an energy bottleneck, reducing the charging current of the entire panel by 50% or more. Wall mounting under standard 12-inch roof eaves frequently creates this issue during spring and summer when the sun reaches its highest point in the sky. If you choose wall mounting, position the solar panel far enough below the roofline—typically twice the depth of the eave overhang—to ensure direct solar intake during peak hours (10:00 AM to 2:00 PM).Seasonal Solar Zenith Angles and Panel Tilt
Because the sun's path across the sky changes throughout the year, fixed solar panels can lose efficiency in winter. Ground spikes offer superior tilt adjustment along a vertical rotational axis. In the Northern Hemisphere, setting your panel tilt to match your local latitude ±5° angled toward true South maximizes year-round energy capture. During winter, tilting the panel up to 15° steeper catches the low southern sun and helps shed rain, dew, and dust. Wall brackets mounted flush against vertical surfaces lack this range of motion, often causing winter charging deficits unless the bracket extends outward from the wall.``` [Summer Sun: High Zenith] [Winter Sun: Low Zenith] \ | \ | v v +-----------------+ +-----------------+ | Solar Panel | (Tilt: Lat -15°) | Solar Panel | (Tilt: Lat +15°) +-----------------+ +-----------------+ ```
Wireless App Signal Propagation at Ground Level
Smart solar spotlights like the Linkind SL5C rely on the Aidot app (version 2.5.0) for Bluetooth control, schedule customization, scene editing, and music synchronization. Signal transmission at lawn level differs significantly from elevated wall mounts. Earth, stone walls, wet soil, and dense foliage absorb 2.4GHz Bluetooth signals. Ground stakes placed deep within dense flowerbeds may experience reduced range when controlled from indoors. Raising the fixture slightly or maintaining a clear line-of-sight across lawn surfaces ensures reliable communication with the Aidot app.Frequently Asked Questions About Solar Spotlight Placement
Clear solutions for tilt angle adjustments, fence mounting, pathway spacing, and shading obstacles.
Action Plan: Validating Your Site Before Installation
Your decision: Choose ground mounting if your yard offers an unshaded lawn border and requires flexible seasonal panel adjustments. Choose wall mounting if your ground beds are heavily shaded by plant growth, provided you can mount the panel clear of roof eave shadows.
Do this next: Use a mobile sun-tracking app at solar noon (12:00 PM) to inspect your intended mounting spot. Ensure the panel location receives at least 4 to 6 hours of unshaded sunlight daily before driving spikes or drilling wall brackets.
- Read next: How to Position Solar Spotlights for Maximum Sunlight: Angle and Shade Strategies
- Read next: US Regional Solar Spotlight Alignment Guide: Finding Your Ideal Tilt Angle
The Linkind SL5C Smart Solar Spotlight package includes both high-durability ground spikes and adjustable wall-mounting brackets, giving you complete installation flexibility.
Further Technical Resources for Solar Optimization
Guide readers to internal cluster articles on tilt angles, troubleshooting, and battery longevity.
Cover photo by Will Freeman on Pexels.