Staggered Pathway Lighting Layout Guide: Stop Trip Hazards & Runway Glare
Myth: Aligning pathway lights directly opposite each other in parallel lines creates symmetrical, balanced walkway illumination.
Fact: Parallel placement creates a harsh "airport runway effect," generating blinding upward glare and deep shadow voids between fixtures.
To eliminate trip hazards without blinding pedestrians, arrange smart solar spotlights in a staggered zigzag pattern spaced 6 to 8 feet apart along alternating sides of the walkway. Position each fixture 5 to 7 feet back from the pathway edge, angling the light beam 45 degrees inward toward the walking surface. This creates overlapping pools of diffuse light while keeping light sources out of direct line of sight.
Visualizing the Layout: Staggered vs. Parallel Placement Geometry
Proper spatial planning ensures that every footstep lands within a well-lit zone without creating glare contrast traps. Below is the structural layout specification for spacing and setback geometry.
Pathway Geometry Scenarios: Straight, Curved, and Stepped Walkways
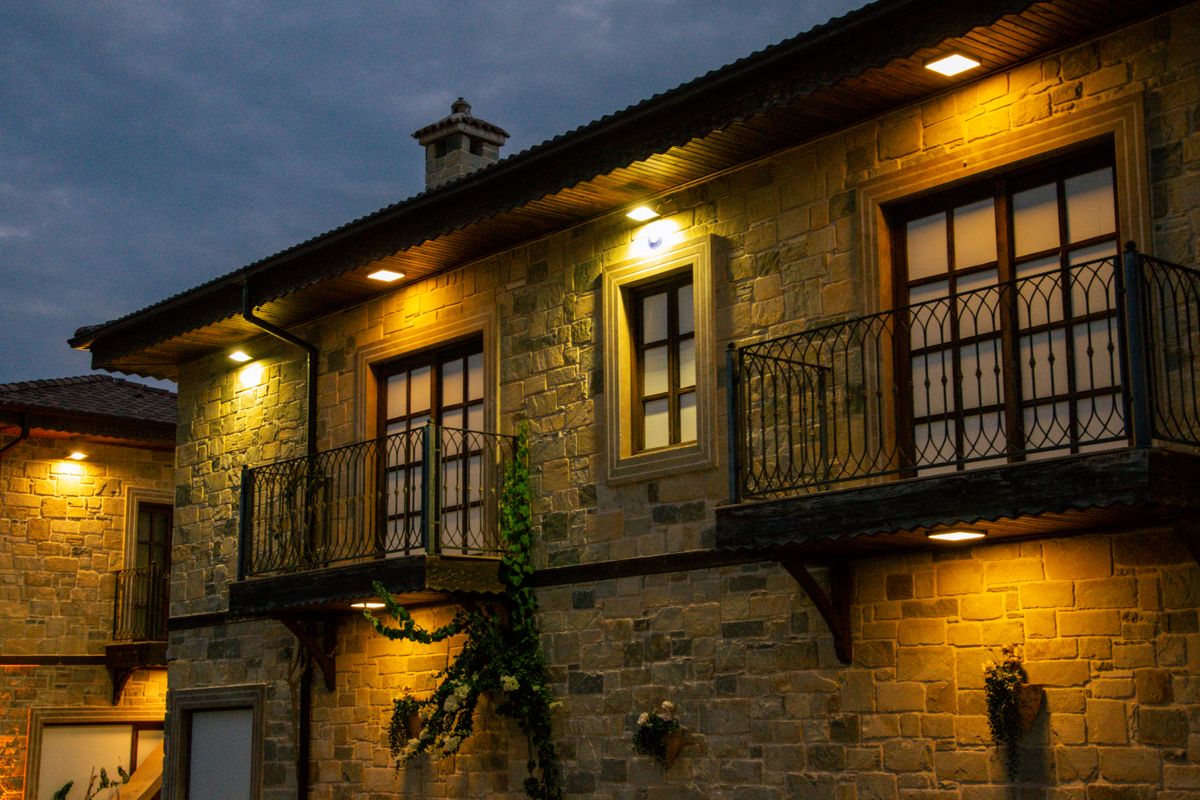
Photo by Anna Klymenko on Pexels
Straight Flagstone or Paver Walkways (4-6 ft wide) — Deploy a strict alternating 6-to-8-foot staggered grid. Stake spotlights 5 to 7 feet back from the stone boundary. Angle beams diagonally forward at 45 degrees to overlap light cones along the path center line.
Winding or S-Curve Garden Paths — Place spotlights at the outer apex of every curve, directed inward toward the path bend. Maintain 6-foot staggered intervals along transitional straight segments to outline borders naturally without light spill into flower beds.
Sloped Walkways with Elevated Steps or Stairs — Position spotlights 5 feet back from step landings, angled down across the treads at a 30-to-45-degree downward pitch. Never shine spotlights directly up a staircase, as this blinds descending walkers.
Narrow Entryway Paths (Under 3 ft wide bordered by walls) — Reduce setback distance to 4 feet while increasing stagger interval to 8 feet. Dial down spotlight brightness in the smart control app to 40% to avoid light reflection off hard wall surfaces.
Different walkway shapes present distinct optical challenges. Apply these tailored layout formulas based on your specific yard topography:
Pre-Installation Staggered Layout Planning Checklist
- Measure total walkway length and width using a tape measure.
- Verify 5-7 feet of clear landscape area on alternating sides of the path for fixture setbacks.
- Check overhead tree canopy to ensure unshaded solar panel charging access during daylight hours.
- Set solar panel tilt angles to local latitude ±5° facing South (in Northern Hemisphere).
- Mark initial stake locations using flags spaced 6-8 feet apart in an alternating zig-zag pattern.
- Test nighttime light pool overlap before permanently driving stakes into ground.
5 Placement Errors That Create Shadow Zones and Trip Hazards
Avoid these frequent outdoor lighting mistakes to protect your home's curb appeal and pedestrian safety:
Real-World Staggered Lighting Examples & Visual Gallery
Review these visual proof points illustrating the aesthetic and safety differences between proper staggered layouts and improper installations.
Mid-Planning Execution Checkpoint
Your decision: Choose a staggered layout with 6-8 ft alternating spacing and a 5-7 ft setback to prevent glare and trip hazards.
Do this next: Measure walkway length, mark stake locations using landscape flags, and adjust solar panels to local latitude ±5°.
- Read next: Smart Solar Spotlight Buying Guide: Selecting the Right Pack Size for Your Property
- Read next: How to Position Smart Solar Spotlights to Eliminate Perimeter Dark Spots
Linkind SL5C Smart Solar Spotlight (Color-Changing RGBW Pack)
Before finalizing stake locations, verify that your pathway measurements align with your available pack size.
Core Principles of Hazard-Free Pathway Lighting
- Stagger for Seamless Overlap: Spacing fixtures 6 to 8 feet apart in an alternating pattern creates continuous light coverage with zero high-contrast dark gaps.
- Respect the 5-to-7-Foot Setback Rule: Pulling spotlights back from the pathway border allows the light beam to fan out broadly, soft-lighting steps rather than blinding walking eyes.
- Optimize Panel Photovoltaics: Position solar panels clear of tree shadows and set the tilt angle to your local latitude ±5° facing South (Northern Hemisphere).
- Leverage Smart App Controls: Use the Aidot app (version 2.5.0) to schedule warm color temperatures (2700K–3000K) and dial brightness to 50–70% for comfortable night vision.
- Invest in IP67 Waterproof Hardware: Choose smart spotlights sealed against heavy rain, snow, and lawn sprinklers for year-round operational reliability.
Printable Field Installation Cheat Sheet
- Fixture Stagger Distance: 6 to 8 feet (measured diagonally along path center line).
- Path Edge Setback: 5 to 7 feet away from stone/lawn border.
- Inward Aim Angle: 45 degrees aimed toward the walking surface center.
- Solar Panel Orientation: Facing South at local latitude ±5° tilt.
- Recommended CCT (Color Temp): Warm White 2700K – 3000K via Aidot app v2.5.0.
- Recommended Brightness Level: 50% to 70% for ambient pathway diffusion.
Pathway Staggered Spacing & Pack Size Calculator
Calculate exactly how many spotlights you need for your pathway length and receive an instant pack size recommendation.
Pathway Lighting Layout Comparison by Walkway Type

Photo by Jeric Turga on Pexels
| Walkway Scenario | Layout Strategy | Spacing Offset | Setback Distance | Glare & Hazard Prevention |
| --- | --- | --- | --- | --- |
| Standard Front Walkway (20-30 ft) | Staggered Zig-Zag | 6 - 8 Feet Alternating | 5 - 7 Feet | Optimal. Eliminates runway effect and diffuses beam across pavers evenly. |
| Narrow Side Alley (10-15 ft) | Single-Side Linear | 6 Feet Single Line | 4 - 5 Feet | Moderate. Prevents reflection off side walls; best when app brightness is set to 40%. |
| Curved Garden Path (30+ ft) | Apex-Inward Stagger | Curved Apex Points + 6 ft Straights | 5 - 7 Feet | Excellent. Outlines path contours naturally without light spilling into flower beds. |
| Multi-Tiered Stepped Walkway | Landing Down-Pitch Stagger | 5 Feet Per Landing | 5 Feet | Superior. Illuminates stair treads from above without blinding ascending or descending walkers. |
Review how staggered layout performance compares against traditional arrangements across real-world yard scenarios:
Pro Tip: Fine-Tuning Lumens & Color Temp for Hazard Elimination
> Lighting Specialist Insight: When setting up pathway safety illumination, more brightness is not better. Overpowering spotlight output causes high visual contrast, making areas outside the beam appear dangerously dark. > > Connect your smart solar spotlights to the Aidot app (v2.5.0) and adjust color temperature to a warm 2700K–3000K. Warm spectrum light reduces glare reflections off wet pavers and allows human eyes to maintain natural night adaptation. Set brightness levels to 50%–70%. This soft lighting approach creates a luxurious ambient glow, eliminates tripping hazards, and extends battery runtime through long winter nights.
Related Pathway Safety & Solar Optimization Guides
- How to Create a Staggered Pathway Lighting Layout for Depth and Safety
- Pathway Solar Lighting FAQ: Installation, App Control, and Troubleshooting
- Smart Solar Spotlight: The Ultimate Outdoor Pathway Lighting Solution
Frequently Asked Questions About Pathway Lighting Layouts
Why is a staggered layout better than a parallel layout for path lighting?
A staggered layout provides continuous, overlapping pools of illumination along the path without creating blinding glare or severe contrast dark spots that occur when lights shine directly at each other.How far back from the pathway edge should solar spotlights be placed?
We recommend a 5 to 7 foot setback from objects and path boundaries. This allows the light beam to fan out broadly across the walking surface rather than creating a harsh, narrow hot-spot.What tilt angle should I set on my solar panels for year-round pathway lighting?
In the Northern Hemisphere, solar panels should be tilted at local latitude ±5° facing south. Avoid shadowed areas under roof eaves or tree branches to ensure full daytime charging.How does the Aidot app help reduce pathway trip hazards?
Aidot app version 2.5.0 allows users to schedule warm color temperatures (2700K-3000K) and adjust brightness levels to prevent blinding glare while maintaining clear step visibility.Recommended Gear: Smart Solar Spotlights for Pathway Safety
Ready to eliminate dark patches and elevate your home's nighttime curb appeal? The Linkind SL5C Smart Solar Spotlight is engineered specifically for staggered landscape layouts.
- RGBTW Color Tuning: Seamlessly shift between warm safety white (2700K–3000K) and vibrant RGB custom scenes using the Aidot app (v2.5.0).
- IP67 Extreme Waterproofing: Built to withstand torrential rain, heavy snow, and lawn irrigation systems without internal condensation.
- Optimized Solar Charging: Features an adjustable solar panel arm that tilts precisely to your local latitude ±5° for maximum solar collection.
- Zero Electric Cost: Harnesses high-efficiency solar cells to deliver continuous overnight walkway safety without running expensive underground wiring.
Execution Guide: From Blueprint to App Setup
Your decision: Choose a staggered layout with 6-8 ft alternating spacing and a 5-7 ft setback to prevent glare and trip hazards.
Do this next: Measure walkway length, mark stake locations using landscape flags, and adjust solar panels to local latitude ±5°.
- Read next: Smart Solar Spotlight Buying Guide: Selecting the Right Pack Size for Your Property
- Read next: How to Position Smart Solar Spotlights to Eliminate Perimeter Dark Spots
Linkind SL5C Smart Solar Spotlight (Color-Changing RGBW Pack)
Follow these final steps to bring your hazard-free pathway lighting plan to life today.
Cover photo by JINU JOSEPH on Pexels.