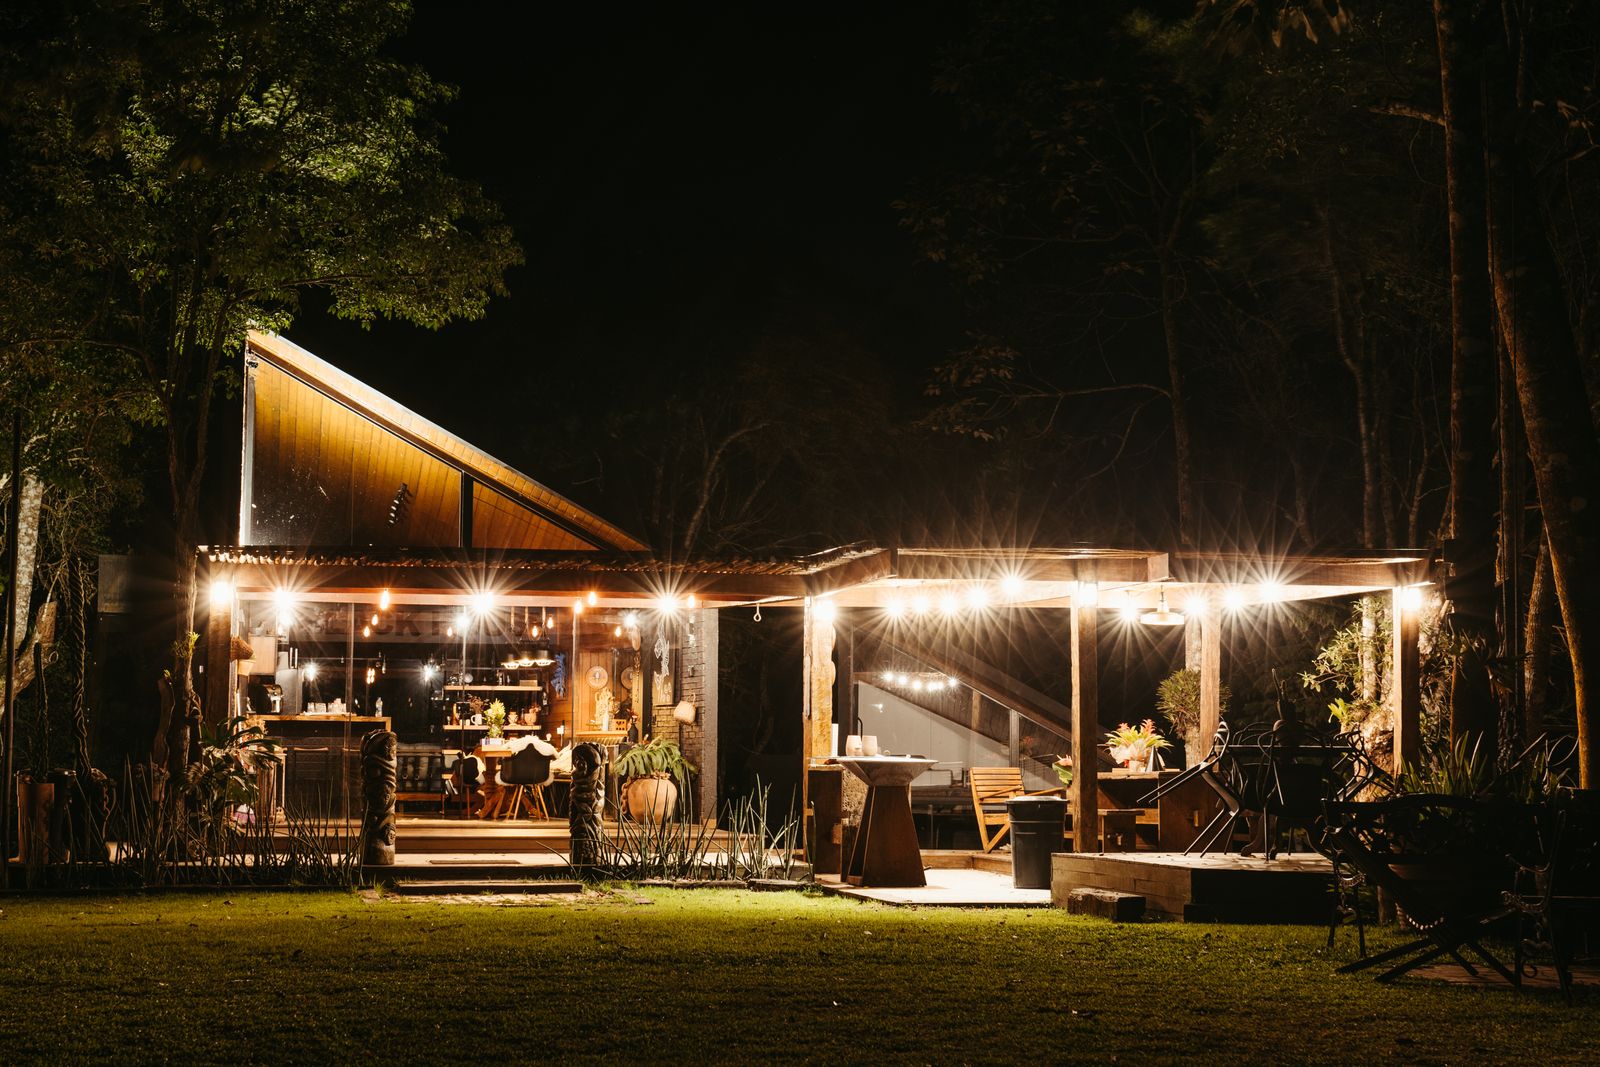
How to Create a Staggered Pathway Lighting Layout for Depth and Safety
A staggered pathway lighting layout for depth and safety is a left-right alternating line of directed spots, not a double row of matching pairs. Set each Linkind SL5C Smart Solar Spotlight 5-7 feet from the walk or planting it lights, aim across the path so pools meet in the middle, and keep every solar panel in open sky. 350 lumens is enough to read edges and steps when the stagger is even; it fails when all the light sits on one side or in a shaded stake.
Why stagger beats a runway of pairs
Paired lamps across from each other make a bright bar, a dark gap, a bright bar. The eye reads the bars and misses the lip in the gap. A staggered path lighting approach for uniform illumination puts the next lamp on the opposite side, so each pool covers the previous gap. Depth shows up as overlapping scallops instead of a flat stripe.
Safety is the same geometry. A trip happens at a height change or an edge. Those points need overlap, which stagger provides without doubling the fixture count.
Walk the route and mark the hazards first: the single step, the material change from gravel to paver, the turn. Those marks get a lamp nearby. The rest of the run fills in on alternating sides.
The 5-7 foot working distance is the layout grid
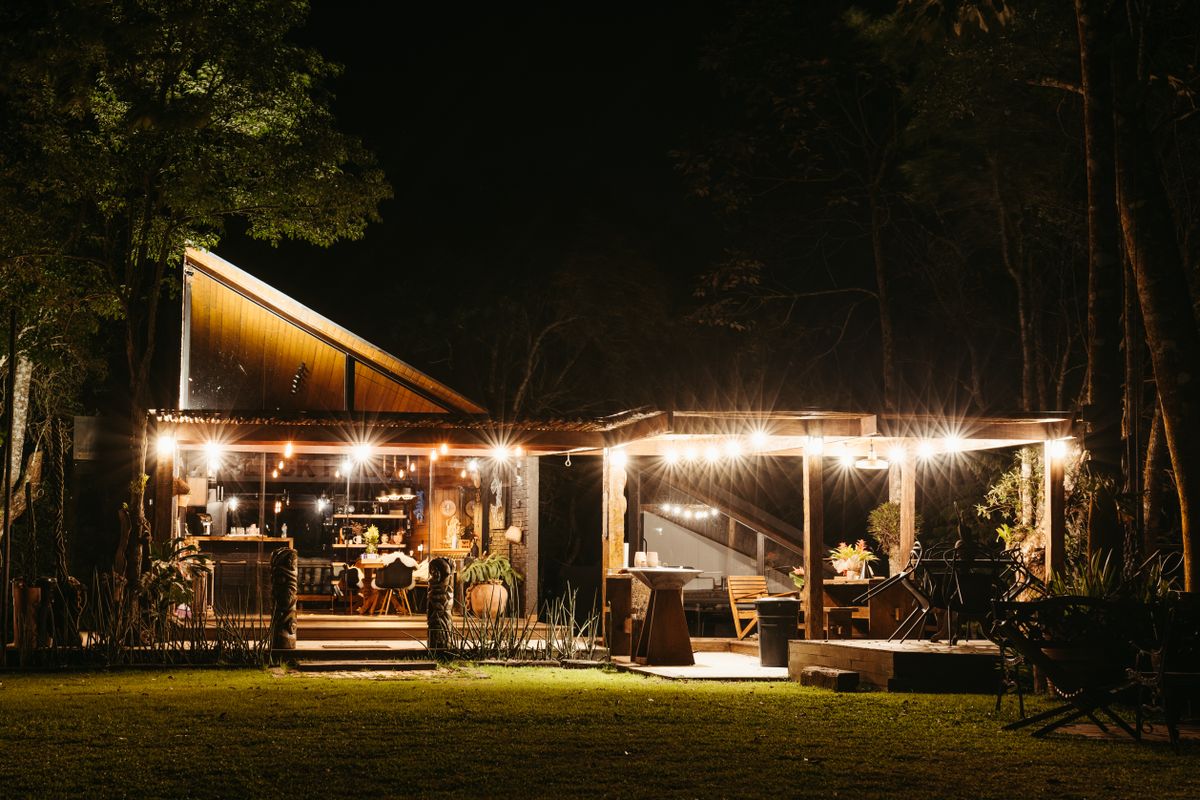
Photo by Jonathan Borba on Pexels
Install lights 5-7 feet from objects for best results. On a path, the object is the walking surface, the border plant, or the low wall that defines the edge. Too close, and the beam is a hot puddle at the stake. Too far, and 350 lumens never arrives as useful light.
Stagger is not an excuse to stretch spacing until the center goes black. If two scallops do not meet, add a fixture or pull the existing ones closer, still inside that 5-7 foot aim distance.
The guide to installing solar smart spotlights in a backyard covers mounting for that left-right plan.
Aim across, not along, the walk
A spotlight pointed down the length of the path blinds the person walking toward it and leaves their feet in their own shadow. Aim across the path, slightly forward, so the beam grazes the surface and the opposite edge. The next staggered lamp does the same from the other side.
Depth comes from that cross-aim: near plants pick up a little light, the pavers pick up more, the far border picks up a wash. A head-on blast at a single shrub looks like a stage spot and tells the walker nothing about the ground.
Lay the stagger in adjustable white first. Party scenes and music sync in Aidot 2.5.0 sit on top of a layout that already works in white.
Charge positions have a veto over pretty stakes
A perfect stagger that parks three panels under a hedge is a dead run by midnight. Avoid shadowed solar panels. If the pretty side of the path is shade, put the stake in the sunlit strip and still aim across the walk. The stagger is about beam overlap, not about matching plant pots.
Avoid strong light sources next to the panel. A porch flood that washes the solar face wastes the 8-12 hour runtime plan. Tilt the panel toward open sky after the head is aimed.
Pathway layouts compared
| Layout | Depth | Safety | | --- | --- | --- | | Staggered left-right spots | Overlapping scallops, readable edges | Gaps filled; extra overlap at steps | | Matched pairs across the path | Bright bars with dark troughs | Lips hide in the troughs | | Single-side row | Flat, one-sided | Far edge stays dark | | One flood at the house | Glare near, black mid-path | The middle of the walk is the hazard | | Random decorative stakes | No planned overlap | Luck, not a layout |
Steps, curves, and landings
On stairs, put light on the riser faces, not only on the top landing. A staggered pair at the top and bottom is the minimum; a longer stair needs a lamp at an intermediate landing. 350 lumens from 5-7 feet will show a nosing if the beam actually hits it.
Curves take a lamp on the outside of the bend so the walker sees the new direction. Inside-only light makes the path look like it continues straight.
DIY install at $0 estimated cost means a stake can move after the first night. If a scallop is short, shift 12 inches and re-tilt the panel.
Staggered pathway layout checklist
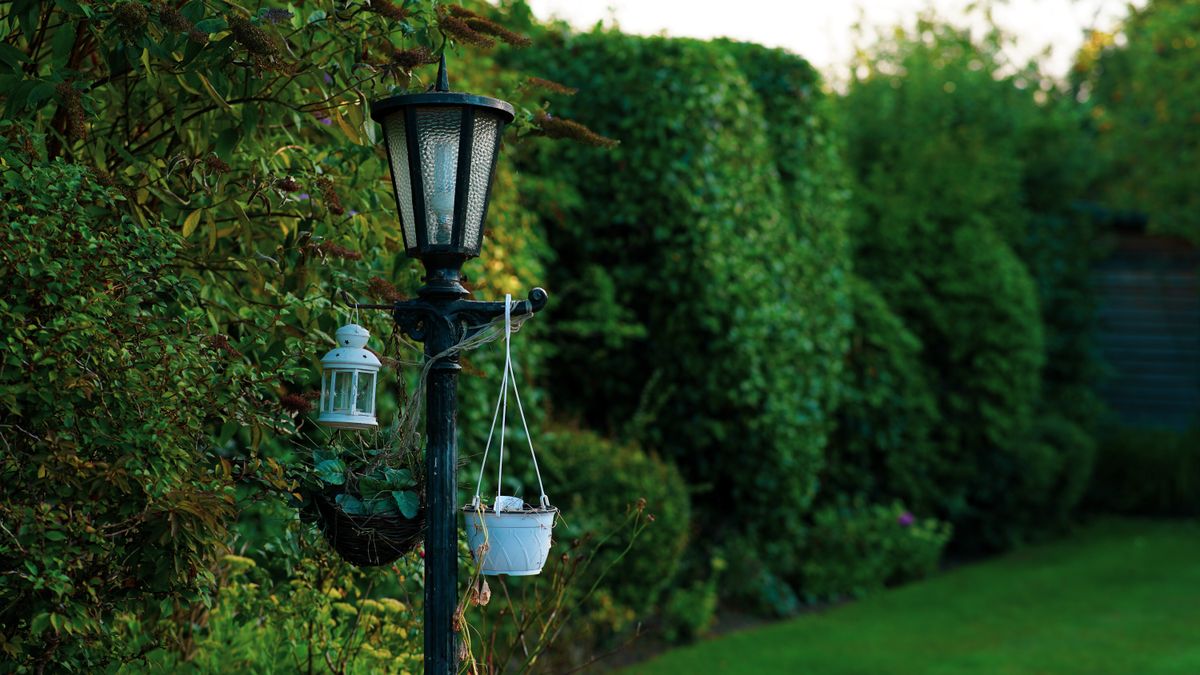
Photo by JINU JOSEPH on Pexels
- [ ] Mark steps, turns, and material changes first.
- [ ] Alternate sides along the remaining run.
- [ ] Set each SL5C 5-7 feet from the surface it lights.
- [ ] Aim across the path so pools meet in the center.
- [ ] Reject shade and strong competing light on every panel.
- [ ] Save a warm-white Aidot scene; keep color for events.
Frequently asked questions
How far apart should staggered path lights sit?
Far enough that scallops meet, close enough that the center never goes black. Keep each head 5-7 feet from the walk it lights, then adjust spacing until the overlap is even.
Can both sides of a wide walk be lit without pairing?
Yes. Stagger still alternates. A wide walk may need a slightly tighter stagger so the center overlap remains.
Should color scenes run on the path every night?
No. Warm white keeps edges readable. RGBTW scenes and music sync are for gatherings.
What if one side of the path is always shade?
Put the panel in sun and aim across. Stagger is a beam pattern, not a requirement to match both planting beds.
Do I need an electrician to stagger lights?
No. SL5C units are DIY solar with $0 estimated installation cost. Move stakes until the overlap looks even.
Related reading
Charging, driveway installs, and dark-spot guides support a stagger that still works at midnight.
- how to install solar spotlights for optimal charging
- installing smart solar spotlight driveway lighting
- solving dark yard spots with smart solar spotlights
What to do next
Walk the path at dusk and mark every step and turn. Place Linkind SL5C spotlights on alternating sides, 5-7 feet from the walk, aimed across so the scallops meet. Move any panel out of shade, save a warm-white Aidot scene, and recheck the overlap after the first 8-12 hour night.
Cover photo by Jonathan Borba on Pexels.