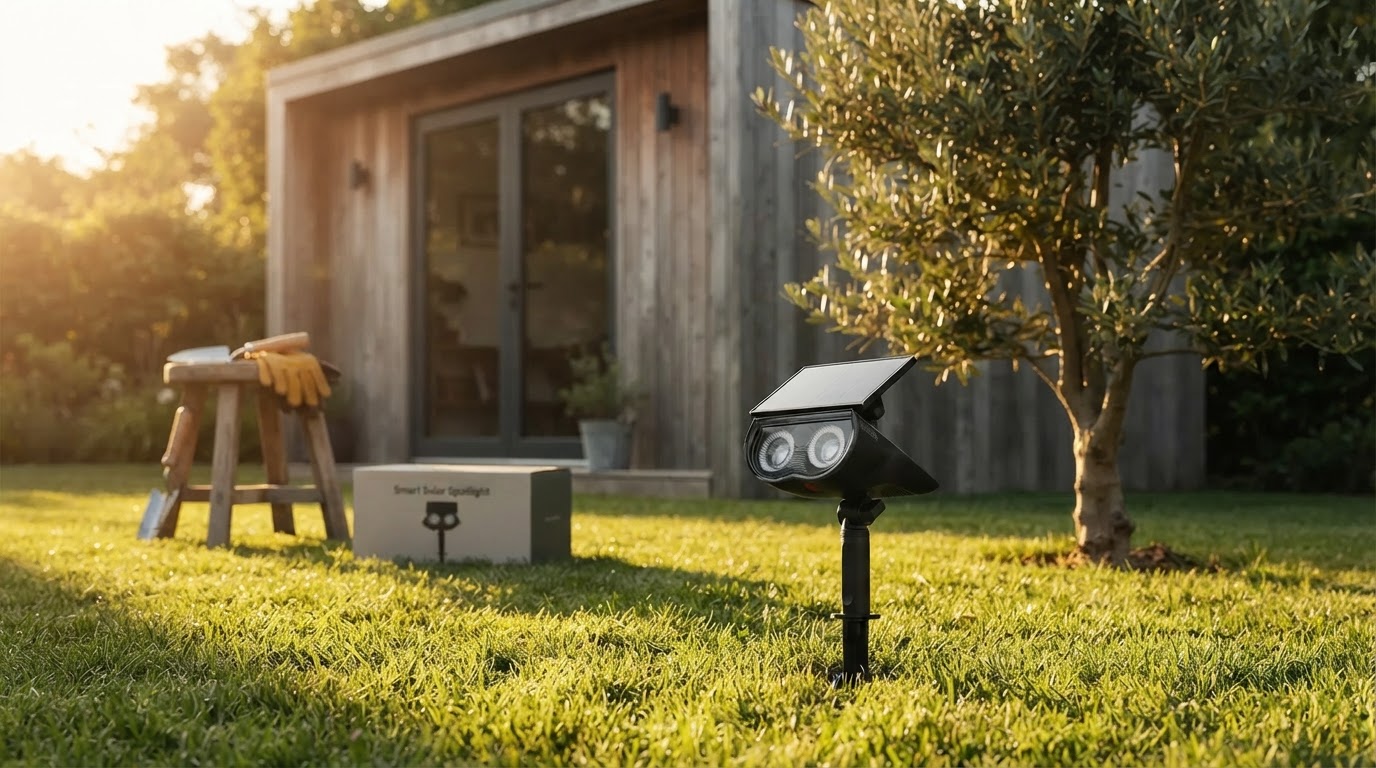
How to Install Solar Spotlights for Optimal Solar Charging
How to Install Solar Spotlights for Optimal Solar Charging
Installing solar lights correctly guarantees long-term output and maximum runtime throughout the year. For full design concepts, consult [the main guide]. Follow these steps to install your Smart Solar Spotlight efficiently.
Step 1: Select an Unshaded Location
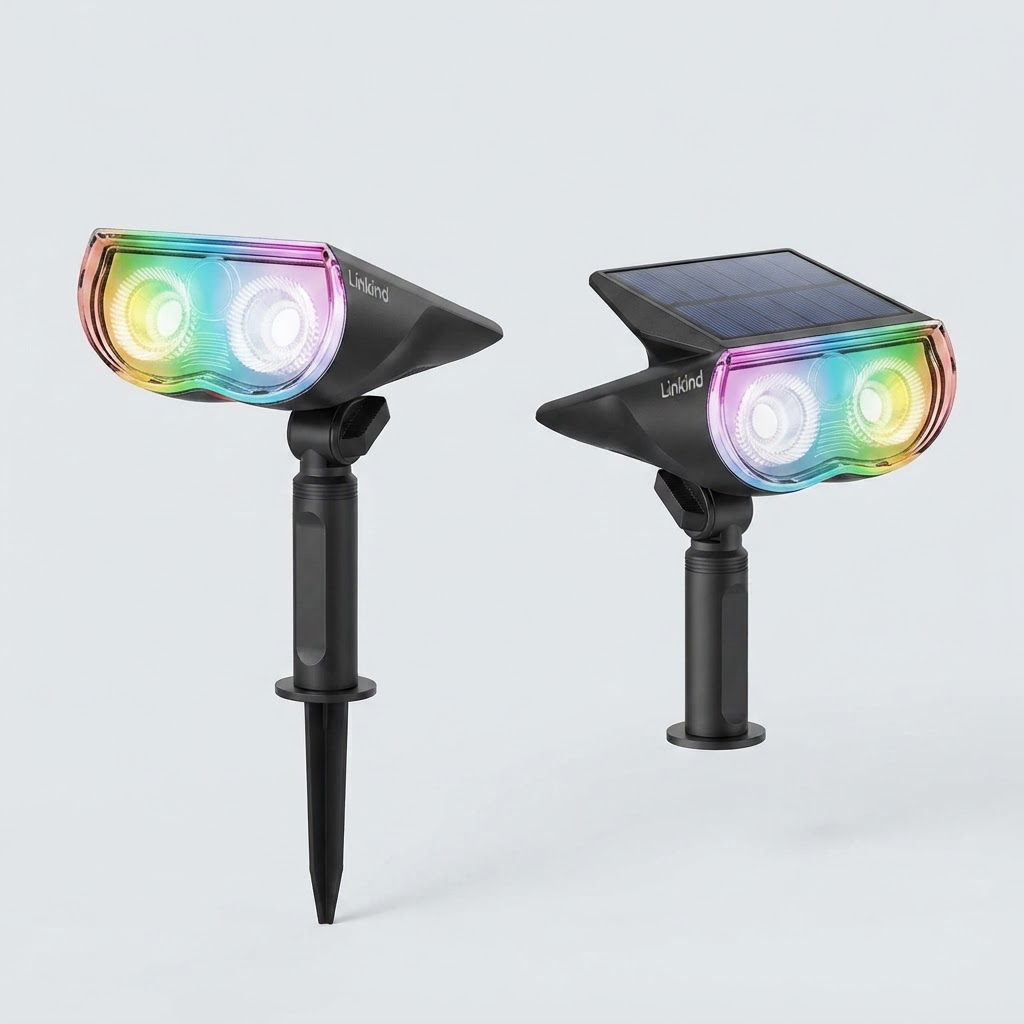
Identify an outdoor spot that receives unhindered sunlight. Avoid shadowed solar panels by checking for overhanging roof lines, tree branches, or fence structures. Also, keep panels away from ambient streetlights, which may disrupt auto-on night sensors.
Step 2: Calculate and Set Panel Tilt
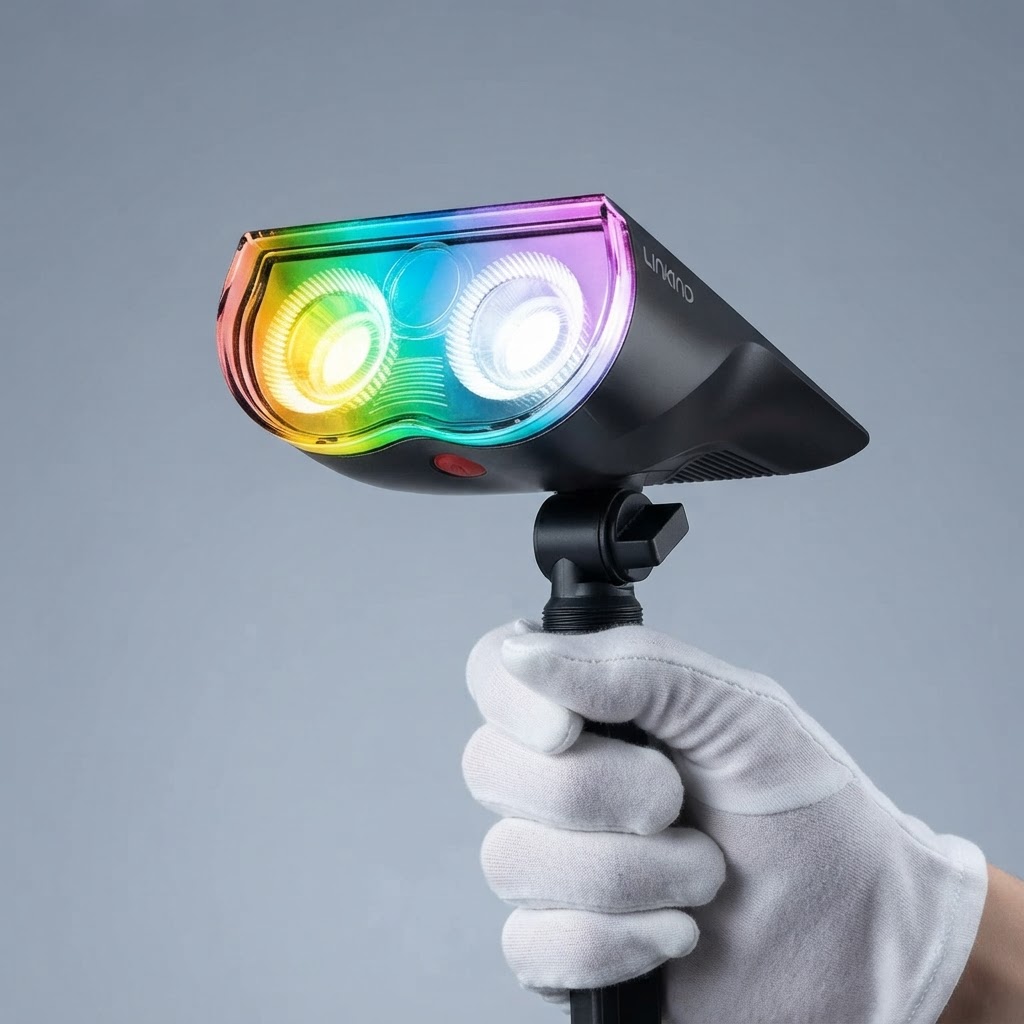
Proper panel alignment ensures maximum solar absorption. In the Northern Hemisphere, set the solar panel tilt at ±5° from local latitude. The optimal tilt angle design for solar charging ensures your battery reaches capacity faster.
Step 3: Position Fixtures Relative to Targets
To achieve balanced accenting without severe harshness, install lights 5-7 feet from objects for best results. When lining pathways or garden borders, use a staggered path lighting approach for uniform illumination across the entire ground surface.
Step 4: Configure App and Lighting Schedules
Once installed, connect your lights via APP control via AI-Dot App. Ensure the Aidot app is updated to version 2.5.0 for stable pairing. Proper solar charging delivers an expected battery run time of 8-12 hours per full charge cycle.
Read the full guide: Ultimate Guide to Backyard Landscape Lighting Ideas for Night