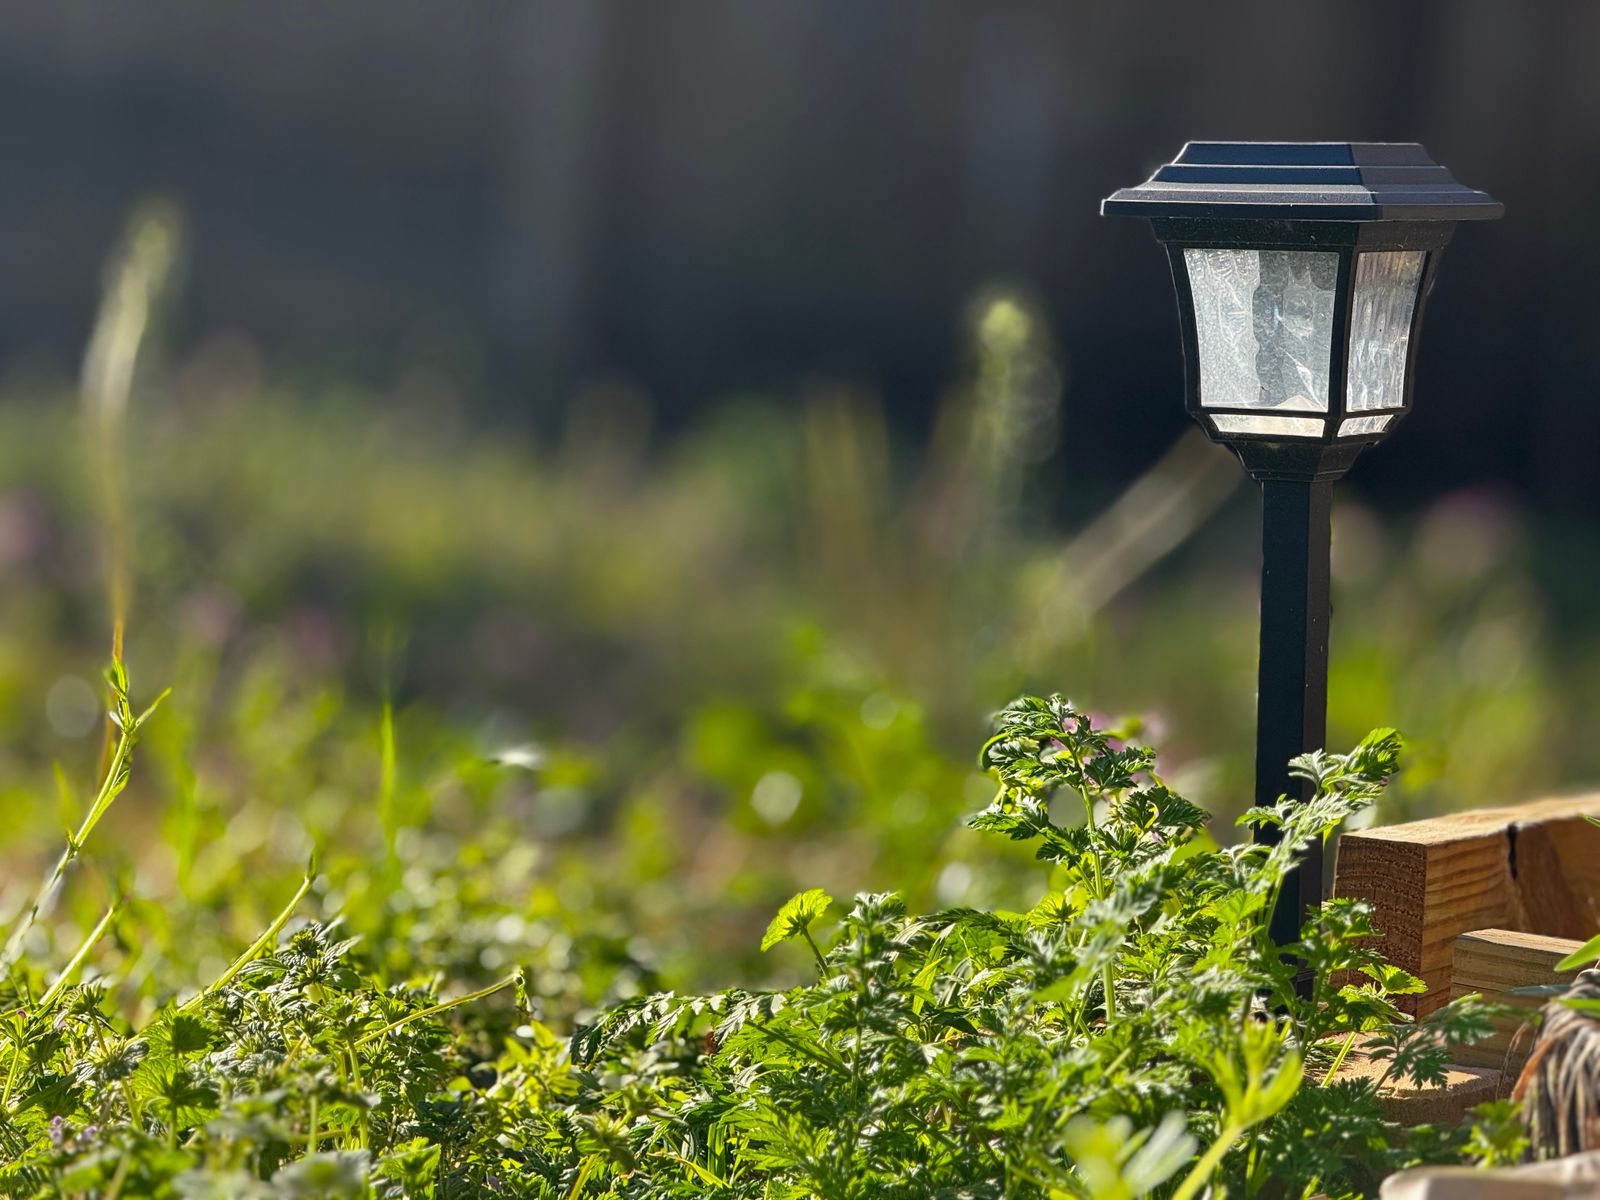
Smart Solar Spotlight FAQs: ROI, Latitude Tilt Angles & App Setup
Scenario: You installed new solar spotlights along your dark driveway, but by 10 PM they flicker out, or appear dull compared to traditional hardwired lights.
Answer: To achieve maximum lighting efficiency and full-night runtime, stake fixtures 5 to 7 feet from illuminated targets in a staggered layout. Set the solar panel tilt angle to your local US latitude ±5° facing due South, clear all foliage shadows, and update your Aidot App to version 2.5.0 for optimized battery management.
System Optimization Matrix: DIY Solar vs. Low-Voltage Hardwired
A comparative evaluation of smart solar spotlights versus traditional 12V low-voltage wired systems for suburban landscape lighting.
Best choice for
- Linkind SL5C Smart Solar Spotlights — Eliminates $300–$800 in electrician labor, requires no trenching, consumes zero grid electricity, and enables remote RGBTW scheduling via Aidot App v2.5.0.
- 12V Hardwired Low-Voltage Systems — Provides constant transformer-fed power regardless of daylight availability, though requiring professional wiring and ongoing utility costs.
- Your landscape features 100% permanent daylight blockage from surrounding structures or dense pine forests with zero solar penetration.
- You are unable to tilt solar panels toward the southern sky.
- Remote-Panel Solar Fixtures — Allows mounting the photovoltaic panel in a sunny roof zone while running a low-voltage wire down to shaded spotlight heads.
Aidot App v2.5.0 & Battery Charging Troubleshooting
Photo by suzukii xingfu on Pexels
| Issue / Symptom | Root Cause | Resolution (Aidot v2.5.0 & Hardware) |
| --- | --- | --- |
| Spotlight fails to illuminate at dusk | Ambient light from streetlights or porch fixtures shining directly on the solar panel optical sensor; or battery uncharged due to flat 0° panel tilt. | Relocate fixture away from artificial light sources. Tilt panel to local Latitude ±5° facing due South. Test sensor by covering panel with a dark cloth. |
| Fixtures disconnect or fail to group in app | Smartphone running outdated Aidot software below version 2.5.0, or Bluetooth Mesh distance exceeded. | Update Aidot App to version 2.5.0 via App Store or Google Play. Ensure spotlights are spaced within 20–25 feet of each other for mesh relay. |
| Short illumination runtime (< 4 hours) | Panel placed in morning/afternoon shadow zones; foliage blockage; or seasonal winter low sun trajectory. | Trim overhanging branches. Shift winter panel tilt angle (+15° from latitude) to capture low-angle sun. Enable 50% dimmed eco-mode in Aidot v2.5.0. |
| Inconsistent color or music sync across pack | Firmware mismatch between individual spotlights in the Bluetooth Mesh group. | Open Aidot App v2.5.0, navigate to Device Settings -> Firmware Update, and ensure all Linkind SL5C units run identical firmware versions. |
Diagnose common operational issues quickly using this side-by-side diagnostic guide.
US Regional Latitude & Seasonal Tilt Angle Guidelines
- Southern US & Sunbelt (Latitudes 25°N – 35°N) — Set baseline solar panel tilt to 30° facing due South. High annual peak sun hours ensure rapid battery top-offs. In mid-summer, a 25° tilt maximizes overhead midday charging.
- Central & Mid-Atlantic US (Latitudes 35°N – 42°N) — Set baseline solar panel tilt to 40° facing due South. Perform a seasonal tilt adjustment on November 1st, angling panels up to 50°–55° to capture low-horizon winter sun and shed frost.
- Northern US & Pacific NW (Latitudes 42°N – 49°N) — Set baseline solar panel tilt to 45°–50° facing due South. Winter daylight hours are short; keep panels clear of snow accumulation and utilize Aidot v2.5.0 automated dimming schedules to extend runtime.
Interactive ROI & Solar Tilt Angle Calculator Specification
Use these parameters to calculate exact panel tilt angles and financial payback schedules for your property.
Key Takeaways for Solar Spotlight Efficiency & Savings
- Latitude-Matched Tilt: Angle solar panels to your local US latitude ±5° facing due South for optimal battery charging.
- 5 to 7 Foot Spacing Rule: Mount lights 5 to 7 feet away from focal plants, walls, or pathways using a staggered layout to prevent hot spots and glare.
- Aidot App v2.5.0 Required: Update to Aidot version 2.5.0 to unlock stable Bluetooth Mesh grouping, custom scheduling, and battery management algorithms.
- 3 to 6 Month Payback: Zero grid usage and zero electrician installation costs ($300–$800 saved) deliver fast financial ROI.
- IP67 Weather Resistance: High-grade waterproof seals protect internal lithium cells against freezing temperatures, rain, and snow.
Recommended Equipment: Linkind SL5C Smart Solar Spotlight
The Linkind SL5C Smart Solar Spotlight delivers color-changing RGBTW lighting, IP67 weatherproofing, and smart app automation for yards, pathways, and garden features.
Placement & Solar Panel Angle Visual Specifications
Technical specifications for installation diagrams illustrating physical spacing and panel alignment.
5-7 Foot Staggered Pathway Placement Diagram
Technical diagram demonstrating staggered path lighting installation.
Installation & Efficiency Optimization Timeline

Photo by Alexas Fotos on Pexels
- Day 1: Unboxing & Conditioning Charge — Unbox fixtures and check IP67 silicone seals. Leave the power switch OFF and place panels in direct sunlight for 8 full hours to complete initial battery conditioning.
- Day 1: Aidot App v2.5.0 Pairing — Download or update the Aidot App to version 2.5.0. Turn on Bluetooth on your smartphone and pair all Linkind SL5C spotlights while indoors or near your router.
- Day 2: Field Staking & Tilt Adjustment — Stake spotlights 5 to 7 feet away from target walls or foliage using a staggered pattern. Adjust solar panels to local US Latitude ±5° facing due South.
- Seasonal Shift: November 1st & March 1st — Adjust solar panel tilt +15° in late autumn to capture low winter sun; adjust -15° in early spring as the solar path rises overhead.
Pre-Installation & Aidot App v2.5.0 Setup Checklist
- Unbox Linkind SL5C fixtures and inspect IP67 waterproof silicone seals around battery and lens.
- Update Aidot App on smartphone to version 2.5.0 before pairing.
- Perform initial 8-hour direct sunlight battery charge with the power switch OFF.
- Measure 5 to 7 feet distance from focal landscaping objects or pathway edges.
- Calculate local US latitude tilt angle (Latitude ±5°) and adjust solar panel angle facing South.
- Verify zero shadow overhangs from roof gutters, tall shrubbery, or fence lines.
- Pair fixtures in Aidot App v2.5.0 using 2.4GHz Wi-Fi/Bluetooth mesh mode.
- Verify ambient light sensor operation by shielding panel to test auto-on threshold.
5 Common Installation Mistakes Disrupting Solar Spotlight ROI
Avoid these common setup errors to maintain maximum illumination and long battery lifespan.
Frequently Asked Questions: Efficiency, Tilt, and App Automation
What is the exact formula for setting my solar spotlight tilt angle in the US?
For year-round baseline efficiency in the Northern Hemisphere, set your solar panel tilt angle equal to your local US latitude ±5° facing due South. For seasonal optimization, add 15° to your latitude during winter months (November through February) to catch the low-angle sun, and subtract 15° from your latitude during summer (May through August) when the sun passes nearly overhead.
Why is Aidot App version 2.5.0 required for optimal smart spotlight operation?
Aidot App version 2.5.0 introduces critical stability patches for Bluetooth Mesh network grouping, improved custom RGBTW scene scheduling, and updated battery power management algorithms. Older software versions may experience mesh signal dropouts, irregular music sync responsiveness, or improper dusk-to-dawn threshold triggering.
How far should smart solar spotlights be installed from walls, bushes, or pathways?
Spotlights should be staked 5 to 7 feet away from target landscaping features, garden walls, or pathway edges. This distance allows the light cone to spread uniformly, illuminating the target without creating harsh visual hot spots, washing out textures, or leaving dark gaps between fixtures.
What causes smart solar spotlights to fail to turn on at night?
The two most frequent causes are ambient light interference and daytime shading. If nearby streetlights or porch fixtures shine onto the solar panel's light sensor, the spotlight will register 'daytime' and stay off. Alternatively, if the panel is shaded during peak hours (10 AM - 4 PM) or set flat at 0° tilt, the battery will not collect sufficient charge to operate.
How long does it take for a smart solar spotlight to pay for itself compared to hardwired lighting?
Smart solar spotlights typically reach 100% financial payback in 3 to 6 months. By eliminating professional electrician installation fees ($300 to $800 for 12V transformers and trenching) and drawing zero electricity from the local grid, solar spotlights operate completely free after the initial hardware purchase.
Can Linkind SL5C solar spotlights withstand winter freezing and heavy snow?
Yes. Linkind SL5C spotlights feature an IP67 waterproof and dustproof rating, meaning they are completely sealed against heavy rain, melting snow, and sub-freezing temperatures. Setting the solar panel to a steep winter tilt angle (Latitude + 15°) naturally helps shed accumulated snow and frost, allowing the photovoltaic cells to charge on clear winter days.
Detailed answers to common questions regarding smart solar spotlight ROI, panel alignment, and mobile app integration.
Immediate Next Steps Post-Installation
Your decision: Determine your property's latitude and shadow zones to configure Linkind SL5C Smart Solar Spotlights for maximum ROI.
Do this next: Download or update the Aidot App to version 2.5.0, set fixture solar panels to local Latitude ±5°, and stake lights 5-7 feet from illuminated targets.
- Read next: How to Pair and Group Linkind SL5C Smart Solar Spotlights in the Aidot App v2.5.0
- Read next: Outdoor Lighting Utility Bill FAQ: How Much Money Do Smart Solar Lights Actually Save?
Linkind SL5C Smart Solar Spotlight (4-Pack) for optimal pathway and landscape coverage.
Follow these final actions to optimize your landscape lighting setup.